Visual Testing (VT) Level I & II Course
The Visual Testing (VT) Level I & II Course is focused on developing skills in one of the most fundamental and widely used methods of non-destructive testing (NDT). Visual Testing involves the direct or indirect inspection of components and structures using the naked eye or optical aids to detect surface defects, misalignments, and other issues. It is commonly used in industries like manufacturing, construction, oil & gas, and aerospace.
Course Objectives:
Level I:
- Understand the basic principles of Visual Testing (VT).
- Learn how to perform direct and indirect visual inspections using standard procedures.
- Recognize and classify surface discontinuities, defects, and anomalies.
- Gain familiarity with the tools and equipment used in visual inspections, such as magnifiers, mirrors, and borescopes.
Level II:
- Develop a deeper understanding of visual inspection techniques and evaluation methods.
- Independently perform advanced VT inspections and interpret results with greater accuracy.
- Learn to prepare detailed inspection reports and supervise Level I personnel.
- Gain knowledge of applicable standards, codes, and acceptance criteria in VT inspections.
Key Components of the Course:
1- Introduction to Visual Testing (VT)
- Overview of Visual Testing as a critical part of NDT.
- Importance of VT in detecting surface flaws, alignment issues, material imperfections, and weld defects.
- Comparison of direct visual inspection (using the naked eye or simple tools) and indirect visual inspection (using optical instruments like borescopes or fiber-optic cameras for areas not accessible to the eye).
2- Visual Testing Techniques
- Direct visual inspection: Involves looking at the component directly with the naked eye or with the aid of tools like magnifying glasses.
- Remote visual inspection: Utilizes tools such as:
- Borescopes and fiberscopes: For inspecting internal areas that are hard to reach.
- Cameras and video systems: For recording inspections of remote areas.
- Mirrors and lighting: To assist in viewing surfaces with difficult access.
3- Inspection Tools and Equipment
- Magnifying glasses: For enhancing small surface features.
- Illumination tools: Adequate lighting is crucial for accurate inspections. Techniques include the use of flashlights, headlamps, and fiber-optic lights.
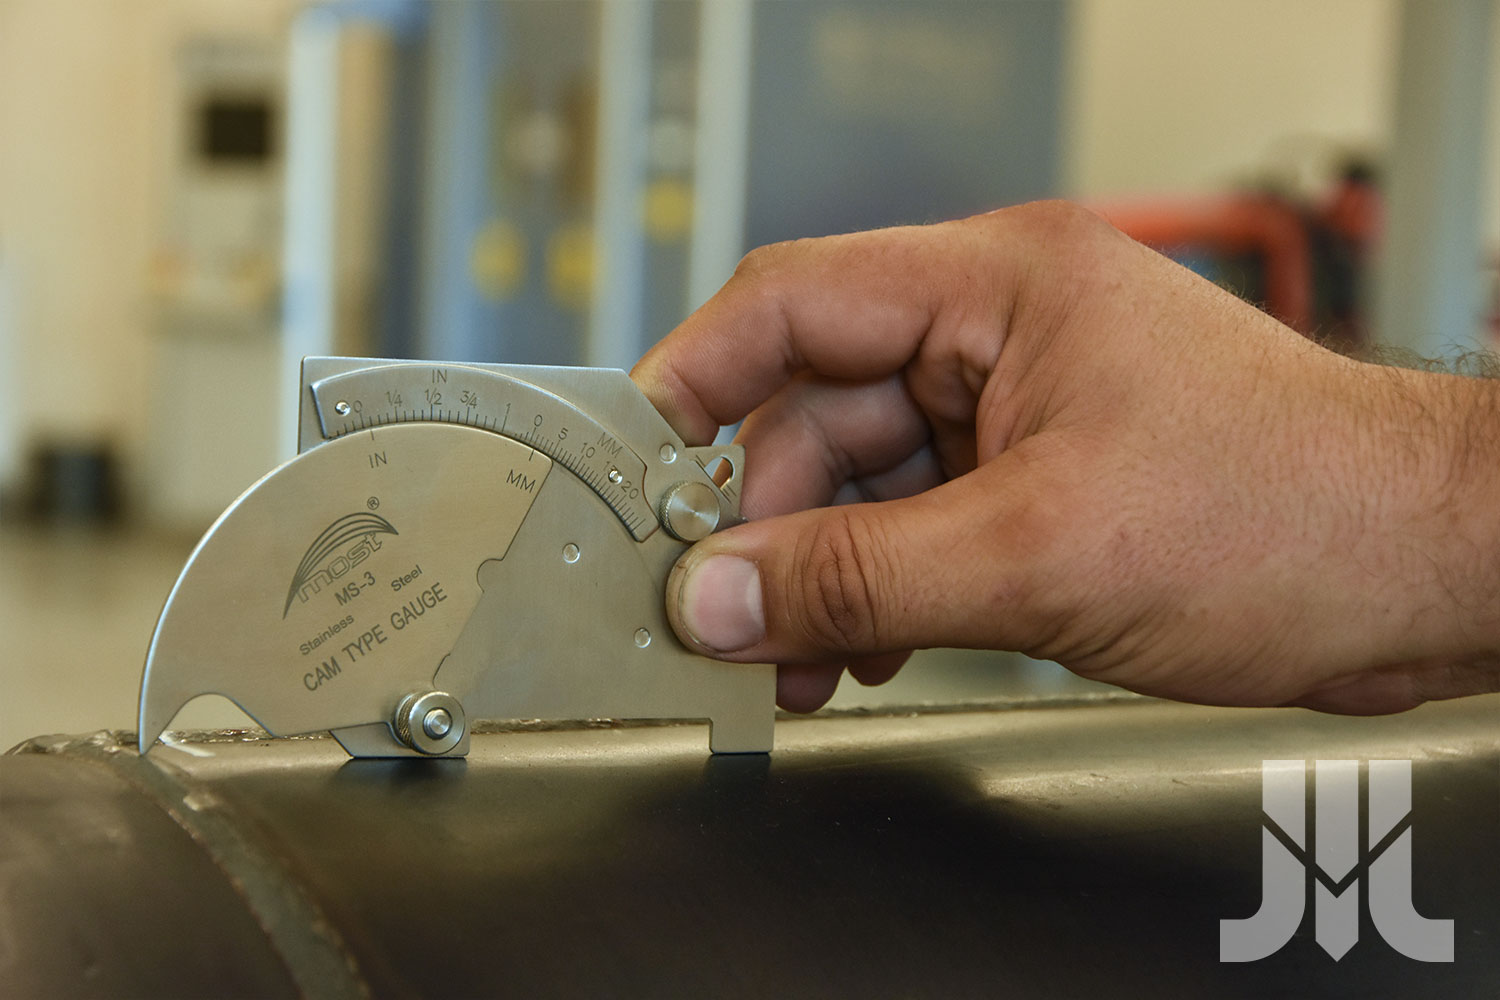
- Surface gauges and rulers: For measuring defects, such as cracks, pits, or dimensional inconsistencies.
- Borescopes and mirrors: Tools used for indirect inspection of complex or hidden components.
4- Surface Discontinuities Detected by VT
- Common surface defects and discontinuities detected using VT:
- Cracks: Surface-breaking cracks due to fatigue, stress, or poor welding.
- Corrosion and pitting: Surface damage caused by chemical or environmental factors.
- Misalignment: Misplaced components or improper fitting.
- Weld defects: Such as undercut, porosity, incomplete fusion, and spatter.
- Surface finish: Issues related to machining or casting.
- Understanding the difference between acceptable and rejectable defects based on industry standards.
5- VT Inspection Procedures (Level I)
- Step-by-step process for performing VT inspections:
- Surface preparation: Ensuring surfaces are clean and free from dirt, oil, or debris.
- Lighting control: Ensuring proper lighting conditions for accurate visual inspection.
- Visual assessment: Inspecting surfaces for defects, abnormalities, and signs of wear or fatigue.
- Measuring defects: Using gauges or rulers to measure the size and depth of visible defects.
- Recording results: Documenting findings, noting the type, location, and severity of defects.
6- Evaluation and Interpretation of Defects (Level II)
- How to interpret indications based on their size, shape, and location.
- Differentiating between relevant and non-relevant indications.
- Relevant indications: Actual defects like cracks, corrosion, or misalignment.
- Non-relevant indications: Surface marks or blemishes that do not affect component integrity.
- Defect evaluation:
- Understanding how to assess defects in terms of safety, functionality, and compliance with industry standards.
- How to determine repair needs, rejection, or acceptance based on inspection findings.
7- VT Standards and Codes
- Industry standards and codes applicable to visual inspections:
- ASME Section V: Visual Testing requirements for NDT in pressure vessels, piping, and other components.
- AWS D1.1: Structural welding code for visual inspection of welds.
- ASTM E 165: Standard practice for liquid penetrant and visual inspection procedures.
- API 650/653: Visual inspection standards for storage tanks.
- Acceptance criteria: Understanding the permissible limits for defects in specific industries and applications.
8- Reporting and Documentation (Level II)
- How to prepare detailed VT inspection reports:
- Recording inspection details such as lighting conditions, tools used, and inspection area.
- Describing the type and location of identified defects.
- Making recommendations based on defect severity, including repairs, further testing, or part rejection.
- Proper documentation ensures that the inspection results are traceable and comply with regulatory requirements.
9- Advanced Visual Testing Techniques (Level II)
- Optical aids: Using advanced optical equipment like microscopes, digital cameras, and remote imaging systems to enhance visual inspection capabilities.
- Video inspection techniques: Recording inspections for later analysis or documentation in hard-to-reach areas.
- Indirect inspections: Using robotics or drone-based visual inspections for inaccessible areas.
10- Practical Applications and Hands-on Training
- Hands-on training in visual inspection of various components, materials, and welds.
- Practical exercises in identifying common defects in welds, piping, and structural components.
- Practical exams: Demonstrating competence in performing visual inspections, interpreting defects, and preparing reports.
Target Audience:
- NDT Technicians: Seeking to specialize in visual testing and surface inspections.
- Weld Inspectors: Responsible for the quality and integrity of welds through visual testing.
- Quality Control Inspectors: Inspecting components and assemblies for surface defects in various industries.
- Engineers and Supervisors: Overseeing visual inspection processes and making decisions based on inspection results.
Certification:
- Level I Certification: Qualified to perform VT inspections under supervision after completing training and exams.
- Level II Certification: Qualified to independently perform VT inspections, interpret findings, supervise Level I personnel, and prepare inspection reports after completing advanced training and practical exams.
Read more
 Inspectrain |

Reviews
There are no reviews yet.